Solid wood flooring brings warmth, character, and durability to any home. At Coppice & Crown, we want to help you fit your flooring with confidence, so here’s a simple three-step guide on how to install our solid wood flooring. These tips are useful to consider once you’ve seen a sample and chosen your desired floor.
We always like to chat to you over the phone to give advice specific to your project and property but this blog should be a good starting point….
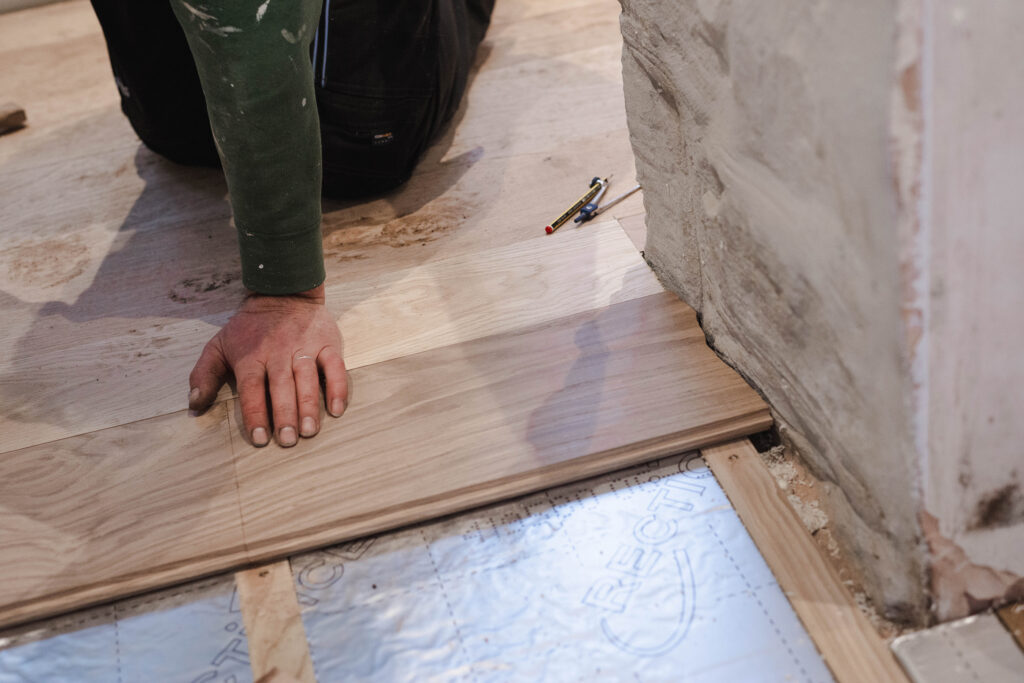
Step 1: Laying the Boards
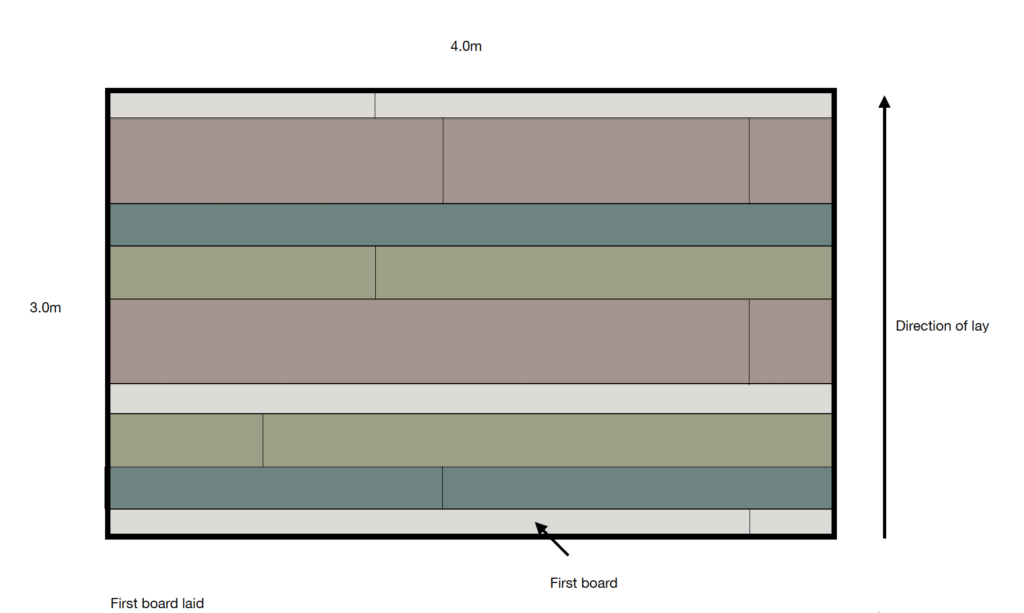
When your flooring arrives, you’ll receive a mixed-width selection of boards. For the most natural and visually appealing look, lay them irregularly, avoiding clusters of the same size in one area. A helpful diagram is available to assist with visualising this process.
Fixing the Boards: Use C2 Tongue Fix Screws and ideally fix through the face of the board into a batten or joist.
Concrete Subfloors: If you have a concrete base, alternative installation methods should be considered here.
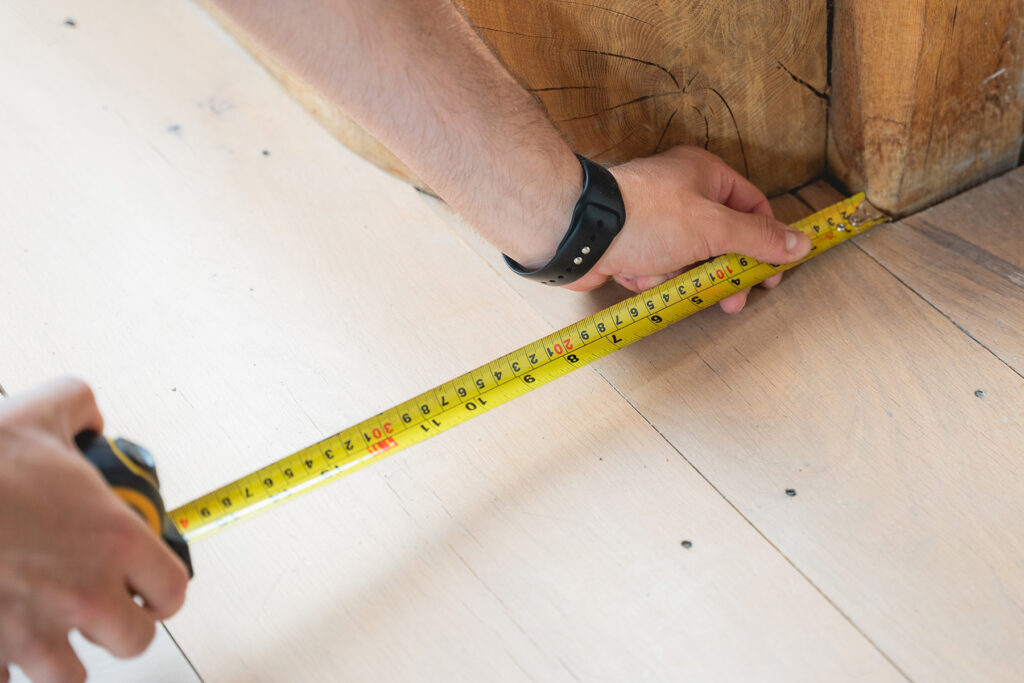
Seasonal Movement: Always allow for natural expansion by leaving an expansion gap around the edge of the room.
If you need further guidance, Tom and Polly are happy to discuss the process over the phone with you and your fitters to ensure confidence in fitting the boards.
Step 2: Sanding for a Smooth Finish
Sanding is crucial for achieving the perfect finish, but different floors require different approaches:
Heritage Oak: Avoid using a large industrial sander, as this will strip away the beautiful texture. Instead, use a hand-held flappy disk sander or angle grinder to enhance natural features and soften edges. For a demonstration of our sanding technique, check out our Instagram post showcasing the process.
Classic Oak, Ash and Chestnut: Require a belt or orbital sander before oiling for a smooth, refined surface.
Cleaning Up: Always vacuum thoroughly to remove sawdust before applying oil or finish.
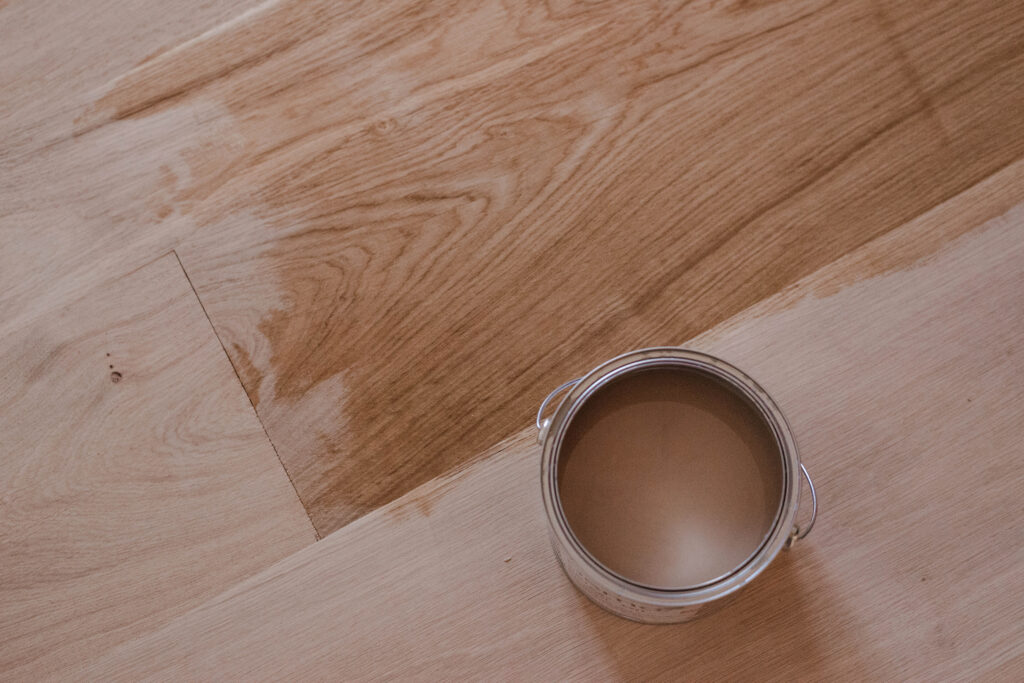
Step 3: Oiling for Protection & Beauty
The final step is oiling, which enhances and protects your flooring.
Choosing a Finish: Majority of clients choose a natural look with a matte or gloss effect but you can stain/ oil your floor using any flooring product of your choosing.
Testing First: Always test on a small area first to ensure the finish looks right in your space before applying it to the entire floor.
Recommended Products: We suggest using OSMO or Fiddes Hard Wax Oils for a high-quality, long-lasting finish.
Need more advice? Check out our blog on selecting the right stains and oils for your flooring.
Ready to Install Your Solid Wood Flooring?
By following these three steps, you’ll ensure a smooth and successful installation. If you have any questions, feel free to reach out to us at Coppice & Crown—we’re always happy to help!