Laying and fixing wood flooring boards
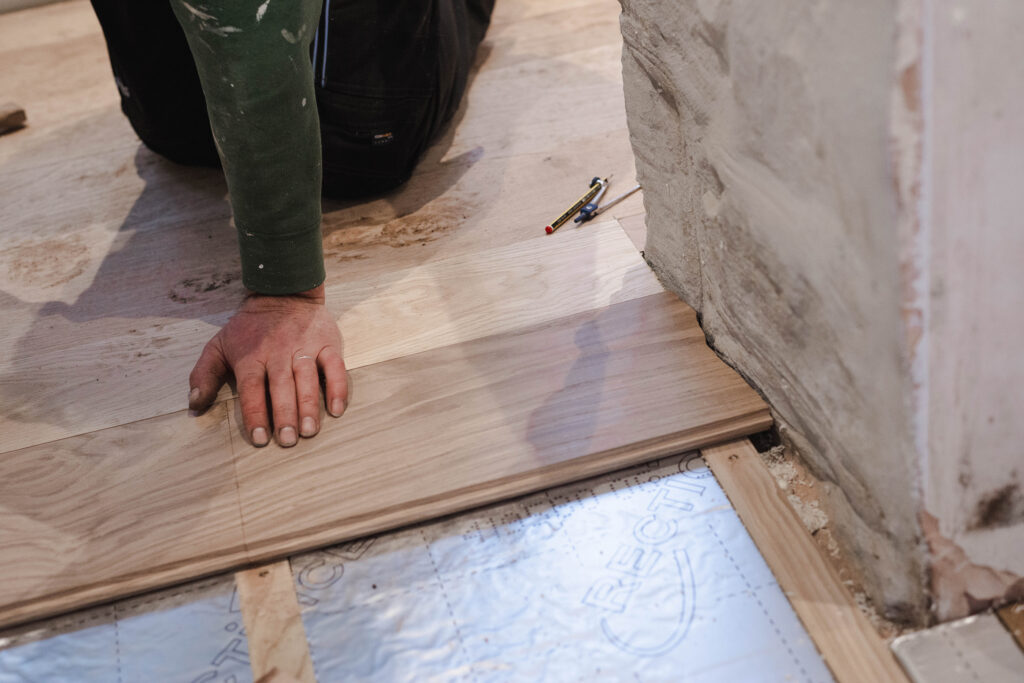
We will always do our best to advise you on the most suitable option for your project, but hopefully the below helps with some handy guidelines for your natural wood flooring. We have a specification sheet for each type of flooring so do request this for your builder or floor layer.
Screws
You cannot secret fix our boards. The tongue is a loose locating tongue and cannot be relied upon as a fixing method. Do not fit our boards as a floating floor. If you are fixing your solid wood flooring boards with screws, we recommend using C2 Tongue fix screws. Use these screws through the face of the board, and they’ll look similar to a nail once screwed in, sitting comfortably IN the board rather than ON. C2 Tongue fix screws have a tiny screw head that looks like a nail once fixed.
Nails
Alternatively, you can use nails to fix your wood flooring, although the nails will need to be longer than any screw you may wish to use.
Glue
If you prefer to glue your boards, we can recommend a glue. However, this is not our preferred method due to the wide widths and long lengths that our boards come in. You will need to still physically fix the first board laid, and perhaps some thereafter. You also lose any advantages of being able to easily lift up the boards in the future.
Sanding
We recommend sanding your boards after laying. Sanding our Classic Oak, Ash and Chestnut flooring is easy with an industrial floor sander. Customers don’t always choose to sand our Heritage Oak flooring, but we recommend using a flappy paddle sander to sand into the undulations of each board.
Finishes
You’ll find a plethora of different finishes on the market for your Coppice & Crown wood flooring. It all depends on how you want it to look. We recommend using Osmo Oil for its ease and durability, but we will happily talk you through some other products too.
